Bee my guest.
- Sam B.
- Apr 17, 2018
- 3 min read
So anyone that knows me know that I am forever getting things on my shirt. Be it food, paint, hair color, baby snot, dog paw prints. etc if I'm around it, it's getting on my shirt. So I thought it would be appropriate that my first DIY be a hostess apron to wear while I do other, messier DIY projects in the future! Yay practicality!
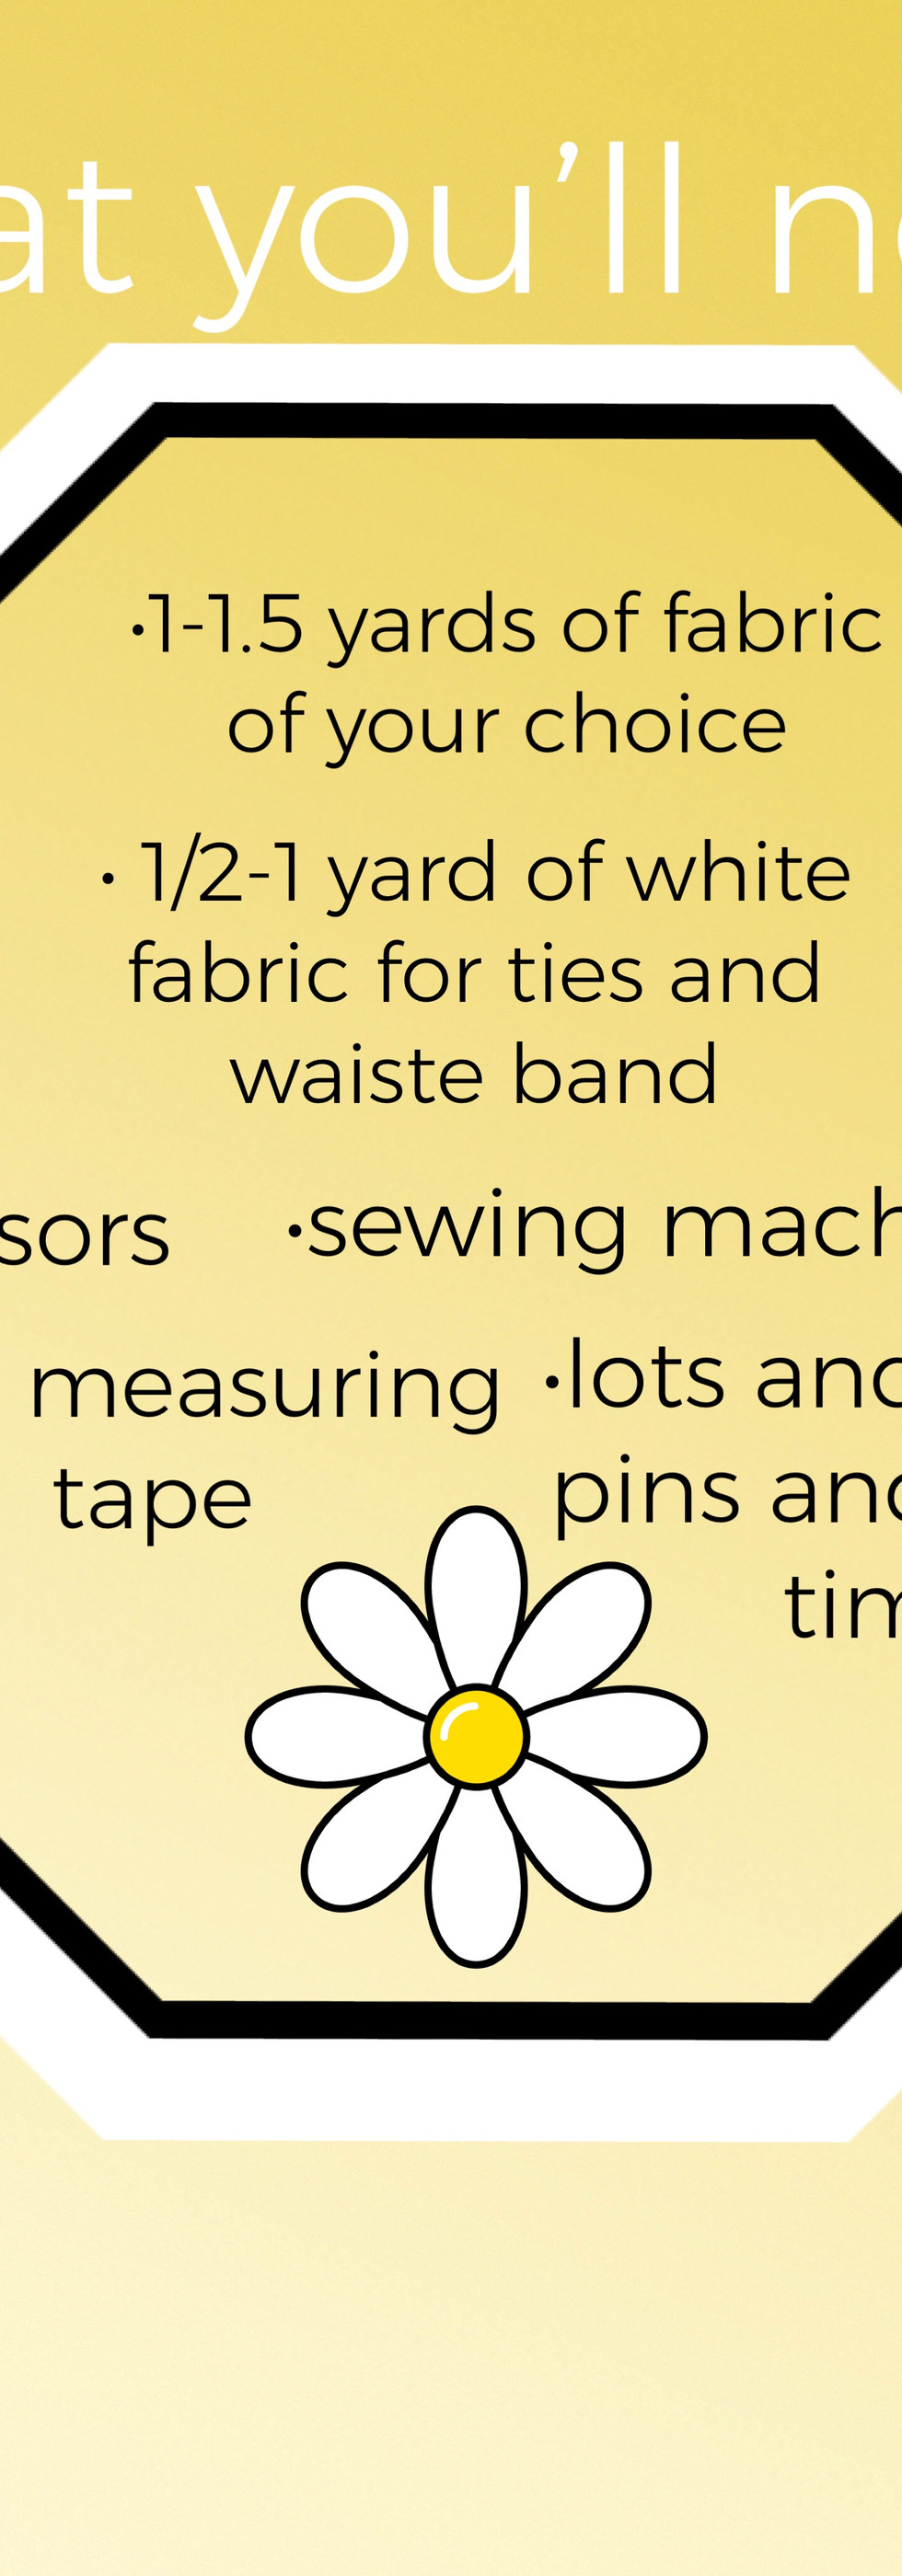
First I had to find the perfect fabric and I have been swooning super hard over this expensive and beautiful skirt lately so I went pattern hunting and found something similar enough to leave me buzzing.

I got it here.
Next I searched around pinterest for a fun pattern that was more than just basic but not above my skill level and I found one I was ready to tackle.
Now let me say, I don't use templates from patterns I find online. I find what I like. I do a little measuring for how I want it to fit me, leave a little wiggle room for hemming and I go with the flow. If that's not your style that's cool too. I will post the link for the full template down at the bottom of the page and you can print it if you wanna try it out!
So I started measuring. I took measurements from where I wanted to the top hem to meet the bottom hem for the top of the apron. I measured across my waist for the waist band and from the bottom of the waist band to wear I wanted the bottom of the apron to land when I had it on.
I measured it out on the fabric and just kind of cut it to shape and pinned around the edges for hemming.


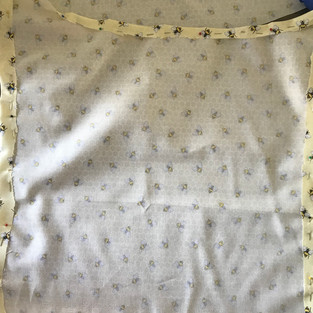
Pin around each boarder about a 1/4 inch for your hem.
I left the boarder where the waist band attaches unhemmed because it would be sewn up later anyway.
Then you can cut your waist piece and your waist ties. I did about 17" for my waist and 32 for each tie and had it about 2 inches wide.
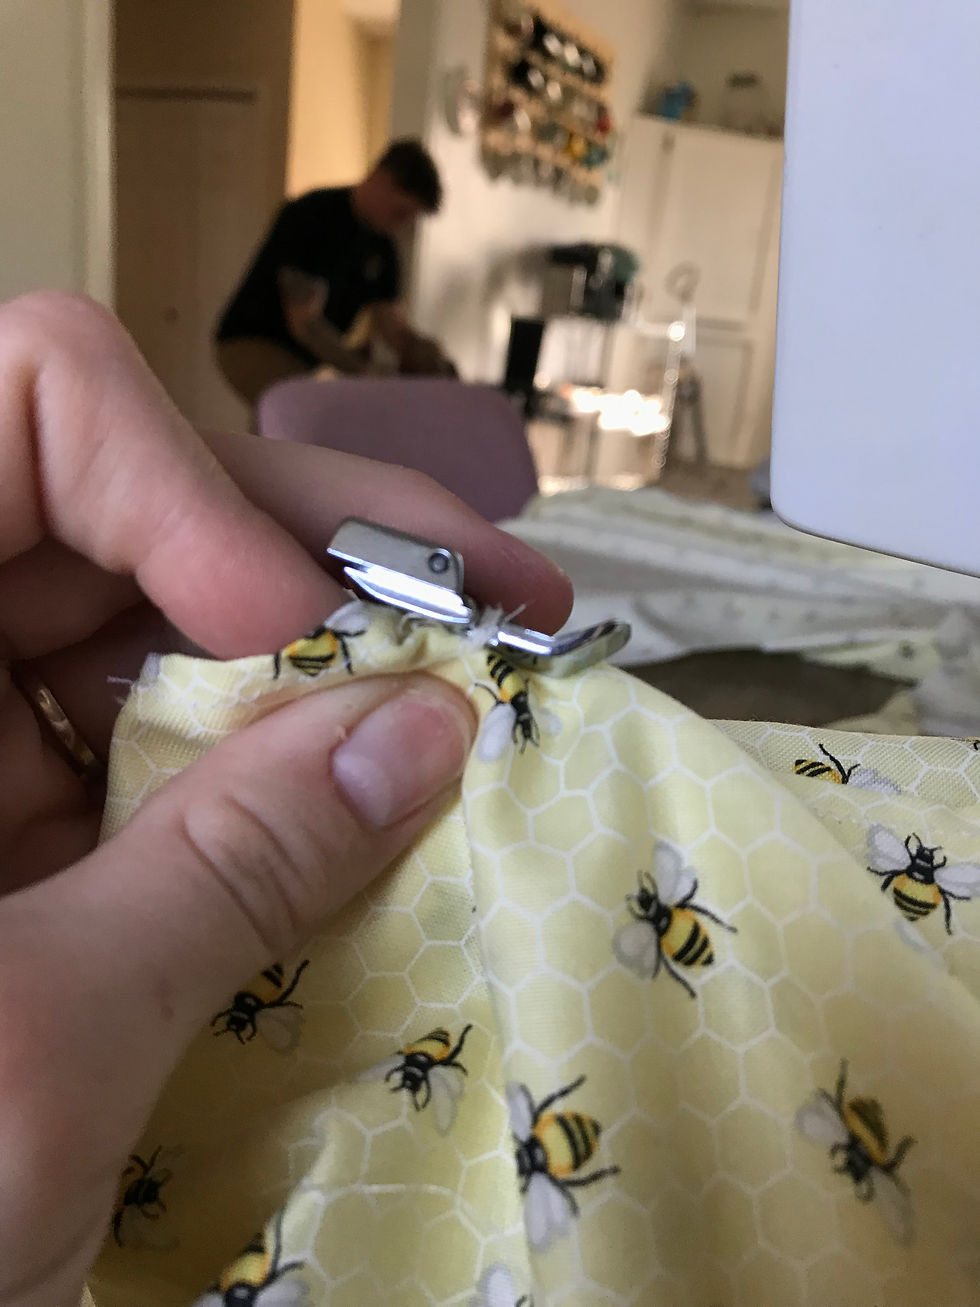
I also accidentally sewed my presser foot onto my fabric.
Before attaching your waist band sew on your pocket. I cut a rectangular piece of fabric about 19 inches long by 9 inches tall and hemmed all the edges and sewed it right on the bottom bit of the apron and stitched a couple rows top to bottom to create separate pockets.

For the waist I did the stitch a little high up to give it a little bit of a ruffle. It didn't quite turn out how I would have liked. But we don't strive for perfection, we strive for fast because I'm impatient AF.
Then stitched the waist ties. flipped them inside out so the seam was on the inside and attached to the waist.
Next I did the same for the neck ties that are about 1 inch wide by 26 inches long but this time I left the seam on the outside because I liked the raw hem look.


The total measurements of the apron are
26 " from top hem to bottom hem.
16" waist band that's 2" wide
the bottom of the skirt is 22.5" inches across (if you want more of a ruffle or pleat in your skirt you'll want to leave more fabric to fold over and create the ruffle while stitching your skirt to your waist bands)
and the top is 10.5 " across.
Over all I'm thrilled with how this turned out and I'd love to see your creations if you decide to give it a go!


Comments