Silas's 3rd Birthday
- Sam B.
- May 8, 2018
- 4 min read
The boy's big 3 was PJ Masks inspired and this is how it turned out!
Previously I was going to do a fondant cake for his birthday but after my first attempt I decided to go a different route. Mirror Glaze with a chocolate "mousse"layer in between each cake.
It turned out so cool! I am so glad I decided to try this because it was way easier than I thought it would be and it seriously looks amazing compared to how my fondant looked.
Plus this stuff tastes WAY better than fondant.


For the cake I used basic boxed French vanilla cake and added sour cream to the batter to add density.
and I did make my own vanilla buttercream.
8 Sticks of salted butter
a lotttt of powdered sugar
1 1/2 tsp vanilla extract
1-2 tbls heavy whipping cream.


1. beat softened butter until smooth.
2. slowly add sugar and beat continually until smooth.
3. add vanilla and cream and beat beat beat until you get the consistency you want.
4. put that ish on a cake!
(I separated the big batch and added gel coloring to each bowl for the PJ mask colors. Red for Owlette, blue for Cat boy and green for Gecko and the glaze it totally for night time, because they're night time heros)
I'm no professional but I did try to make my frosting job pretty smooth so that the glaze wouldn't look too lumpy and it turned out okay. If it were for something other than a 3 y/o birthday party I may have tried a little harder.
For the mousse layer. (No eggs involved!)
Chocolate chips- melted
granulated sugar
1 packet unflavored gelatin
heavy whip
bloom the gelatin in cool water.
heat a tblsp of heavy whip and two cups of chocolate chips. in a pan on low
while it melts whip heavy cream and sugar till hard peaks form
slowly add melted chocolate and fold it all together.
let set in the fridge
Once it was set I put my cooled cakes back in the pan and layered in the mousse and tapped the pan to keep it as smooth as possible and put it in the freezer for 5 minutes and then added the next layer of cake.
unfortunately I forgot to take pictures of this process.
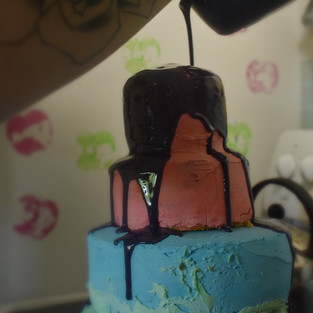
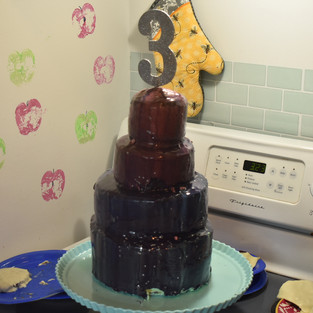
here it is after assembly but before the glaze.

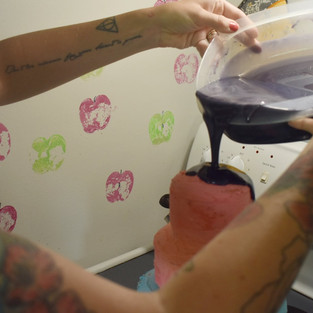
For the glaze.
This part was surprisingly so so easy.
it's definitely intimidating but for no good reason.
I read a lot of recipes for glazes and almost all of them were the same with tiny variations. some called for glucose, some said it could be subbed for corn syrup some called for more condensed milk and so on.
Eventually I just decided to go with my gut and use a bit of all of them.
I used
1/2c cold water and 2 packages of unflavored gelatin
1 can condensed milk
8oz of glucose
1 1/2 cups of sugar
2 cups white chocolate chips
black, blue and red food coloring
edible star glitter.


bloom the gelatin in 1/2 c cool water
heat condensed milk, glucose, sugar and 1/2 c water in a medium sauce pan
bring to a simmer
once it comes to a simmer remove from heat and add to gelatin mixture.
stir well and slow you want as few air bubbles as possible.
add chocolate chips and let sit to melt
an immersion blender would be perfect for the next step but I don't have one so I used my regular hand held blender and made so so many air bubbles, I had to use a fine fine sieve to get rid of as many as I could.
if you have a ton of air bubbles it will show up in your finish.
the glaze does have to sit in the fridge for at least 12 hours, I'm not sure why but that's what the internet told me.
When you're ready to glaze you need to be sure that your cake is very cold or the glaze will melt your buttercream right off.
I had my cake in the freezer for about 1.5 hours before I poured the glaze.
the internet also suggests having a thermometer to check the temperature of your glaze before you pour. It makes a big difference they say.
I don't have one and it turned out okay. If I had to do it again id say my glaze was too warm and that's why a lot of it ran off. I poured over a second time after it had set a bit to get a fuller coverage.


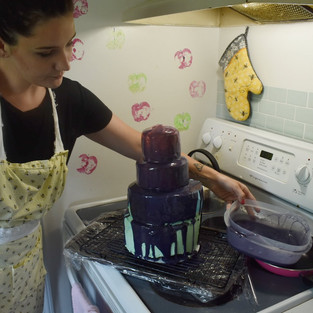
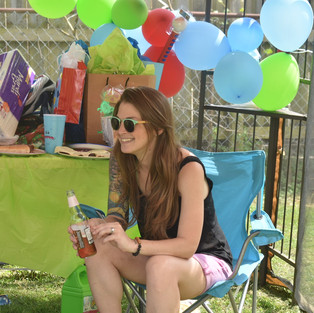
then I let it set in the fridge while I set up all of the balloons!


I wanted to be a bit more creative in my balloon install but quickly ran out of balloons, and breath. so this is what came to be.
tie ballons together. tape them (or low heat glue gun) and then hang em up.
super easy. super customizable.
the wind got to my set up pretty quickly though, tape may not be the better option for outdoor balloons.


that was pretty much all I did for the décor. We had two bubbles machines and a sprinkler and all was well.
here are some photos.


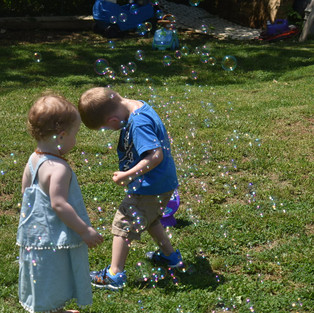

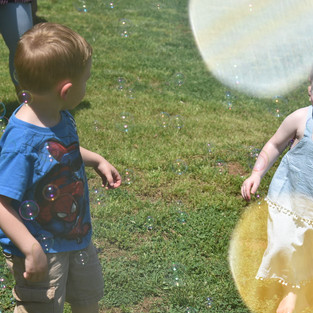


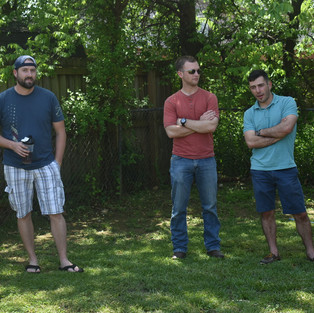


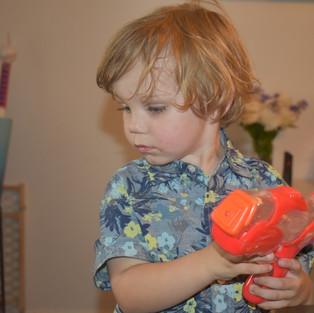


thanks for lookin!


Comments